계정을 추가하고 로그인 해야 다운로드가 가능하기 때문에 위의 경로와 다를 수도 있음
http://www.adobe.com/cfusion/entitlement/index.cfm?e=lcds26_td
- Serial Number 는 다운로드 페이지에 존재하나 입력하지 않아도 설치 가능함.
2.
다운받은 lcds261-win.exe 파일을
실행해서 LCDS 를 설치한다.
설치중 내장된 Tomcat 을 사용할지 다른 WAS를
사용할지 선택하는 부분이 나오는데 본 문서에서는 Tomcat을 사용하도록 설치한다. 설치는 어렵지 않게 할 수 있다.
3.
설치된 경로에 보면 lcds 라는 폴더가 존재하고
이 구조는 다음과 같다.
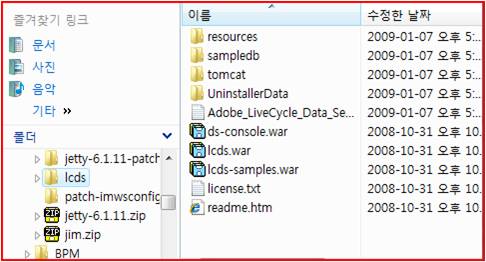
폴더에 Tomcat 이 보인다. 이 내부는 기존의 Tomcat 과 동일한 구조를 가진다.
또한 tomcat 의 webapps 에 올라갈 lcds.war 와 lcds-samples.war 도 보인다.
4.
Tomcat 폴더를 보면 Tomcat 6.0.14 가 그대로 들어있다.
Tomcat 실행을 위해 JAVA_HOME 과
CATALINA_HOME 의 환경변수를 설정한다.
JAVA_HOME : java jdk 가 설치된 경로
CATALINA_HOME : tomcat 이 설치된 경로(%LCDS_HOME%\tomcat)
%LCDS_HOME%\tomcat\lib\lcds : LCDS 관련 lib
%LCDS_HOME%\tomcata\webapps\lcds : LCDS 관련 content root
5.
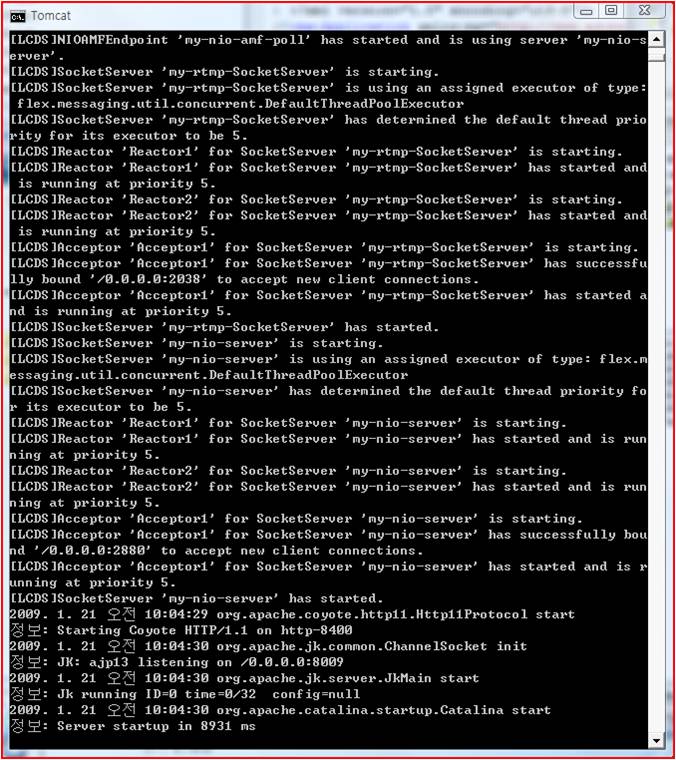
%LCDS_HOME%\tomcat\bin\startup.bat
를 통해 tomcat을 실행시킨다.
시작프로그램 – Adobe - LiveCycle Data Services ES 2.6.1 - Start
LiveCycle Data Services Server
을 시작하면 bin\catalina.bat 을 실행시키는데 이는 JAVA_HOME path를 안 잡아줘도 되는듯..
어느 방법을 사용하든 서버를 시작하면 다음과 같이 된다.
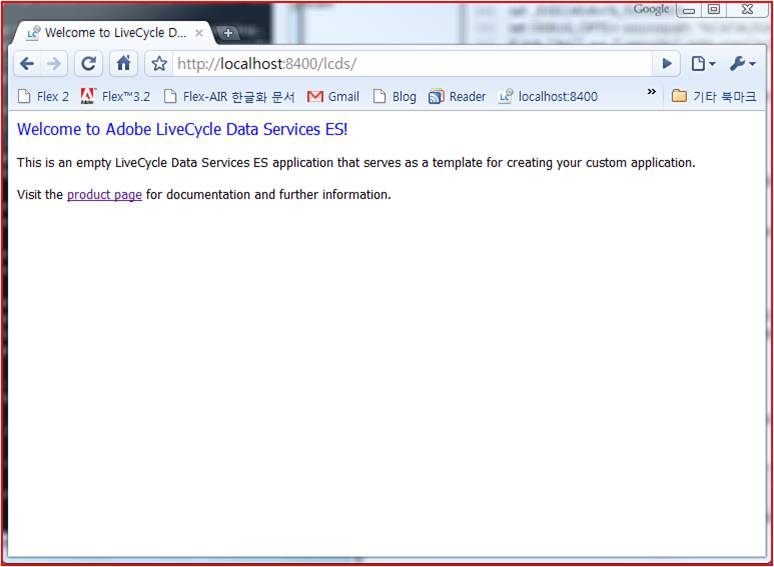
서버 시작 후 http://localhost:8400/lcds
로 들어가서 다음과 같은 화면이 나오면 서버가 정상적으로 동작하는 것이다.
6.
접속 port를 바꾸려면 %\LCDS_HOME%\tomcat\conf\server.xml 에서 다음의 부분을 찾아 port 를 변경해 준 뒤 서버를 재 시작 하면 port 변경이 된다.
<Connector port="8400"
protocol="HTTP/1.1"
connectionTimeout="20000" redirectPort="9400"
/>
7. 서버 시작 후 http://localhost:8400/lcds-samples/ 로 들어가게 되면 기본으로 제공되는 LCDS 관련 Sample 들을 볼 수 있다.
8. Flex Builder 에서 LCDS 프로젝트 만드는 방법
9.
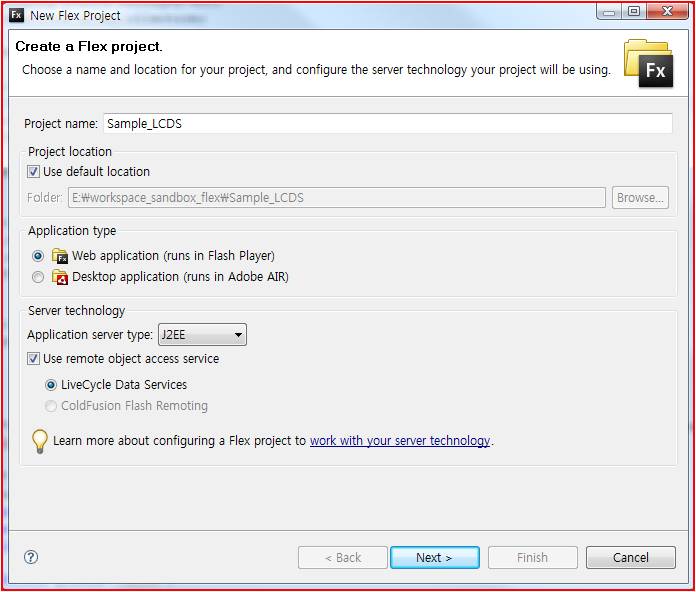
New – Flex Project 를 선택한다.
그 후 아래의 그림과 같이 Server type을 설정한다.
Application Server Type : J2EE
LiveCycle Data Services 선택
10.
LCDS 가 설치된 경로를 찾아 Server location 을 설정해 준다.
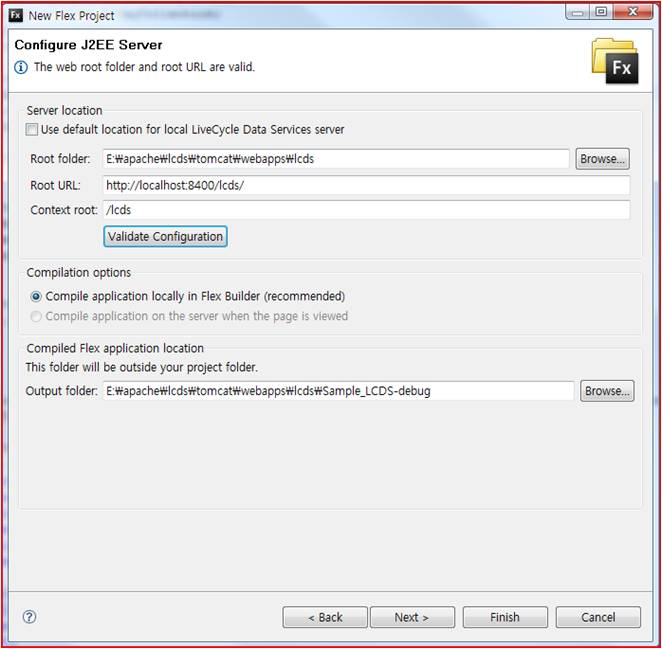
현재 버전은 Tomcat에서 돌아가는 LCSD 이기
때문에 LCSD가 설치된 경로를 기준으로 위와 같이 설정 후
Validate Configuration 버튼을 눌러 확인해 준다.
Root folder : \lcds\tomcat\webapps\lcds
[tomcat 에 기본으로 존재하는 경로(lcds)]
Root URL : http://localhost:8400/lcds/
Context root : /lcds
11.
이상의 방법까지 하면 LCDS 설치가 왼료 되고, LCDS로 프로젝트가 생성된다.
프로젝트 생성시마다 context root 인
webapps/lcds 안에 XXX-debug 폴더가 생성되고 그 내부에 swf 파일, html wrapper 파일들이 들어가게 된다
LCDS 의 설정 파일들은 webapps\lcds\WEB-INF\flex 내부에 존재한다.
출처 : http://kwlee.tistory.com/62
'Flex 3.0' 카테고리의 다른 글
| Flex 에서 Getter / Setter 정의 사용 (0) | 2009.08.21 |
|---|---|
| Flex 브라우저의 네비게이션 기능 Toggle (0) | 2009.08.21 |
| 이벤트 리스너를 ActionScript로 등록 / 삭제하는 법 (0) | 2009.08.21 |
| ArrayCollection 타입 변수 선언시 데이터 정의 / Repeater를 이용한 출력 (0) | 2009.08.21 |
| 동적으로 버튼을 추가 / 삭제하는 방법 (0) | 2009.08.21 |


